
Working with URL documents
When you add a URL document to the Knowledge Hub, Louis fetches the page, extracts its content, and indexes it for retrieval. This page covers the four levers you can use to get a clean, complete, and fresh extraction.
| Lever | What it does | Where it lives |
|---|---|---|
| Base scraping | Pulls the page HTML — works out of the box for static pages | Automatic |
| CSS selector exclusion | Strips noise (headers, footers, cookie banners) before indexing | Advanced > Web Scraping (global) + per-URL override |
| JavaScript rendering | Loads the page in a real browser so dynamic content is captured | Per-document, in Add document |
| Refresh | Keeps URL content up to date | Per-document (Synchronize) + scheduled (Advanced) |
How URL scraping works (default)
By default, Louis fetches the page's raw HTML response and extracts the textual content from it. This works well for:
- Static sites (server-rendered HTML, CMS-published pages)
- Help-center articles, FAQ pages, blog posts
- Public documentation
After scraping, the extracted text is split into chunks and indexed. You can see the chunks Louis stored from any document in the document Details modal — see Verify what was scraped below.
Cleaning up scraped content
Most web pages contain elements you don't want in your knowledge base: navigation menus, headers, footers, cookie banners, ad slots, "related articles" widgets. If you don't strip them out, Louis will index them and may quote them in answers.
You strip them out by listing CSS selectors that should be excluded before content is captured.
Example
You scrape a help-center article. Without exclusions, Louis ingests the sidebar menu, cookie banner, and footer links alongside the article body. With
.sidebar,footer, and.cookie-bannerselectors, only the article content is stored.
Global defaults — Advanced > Web Scraping
Global defaults apply to every URL you add to the Knowledge Hub. Set them once, get clean scraping for free on every new URL.
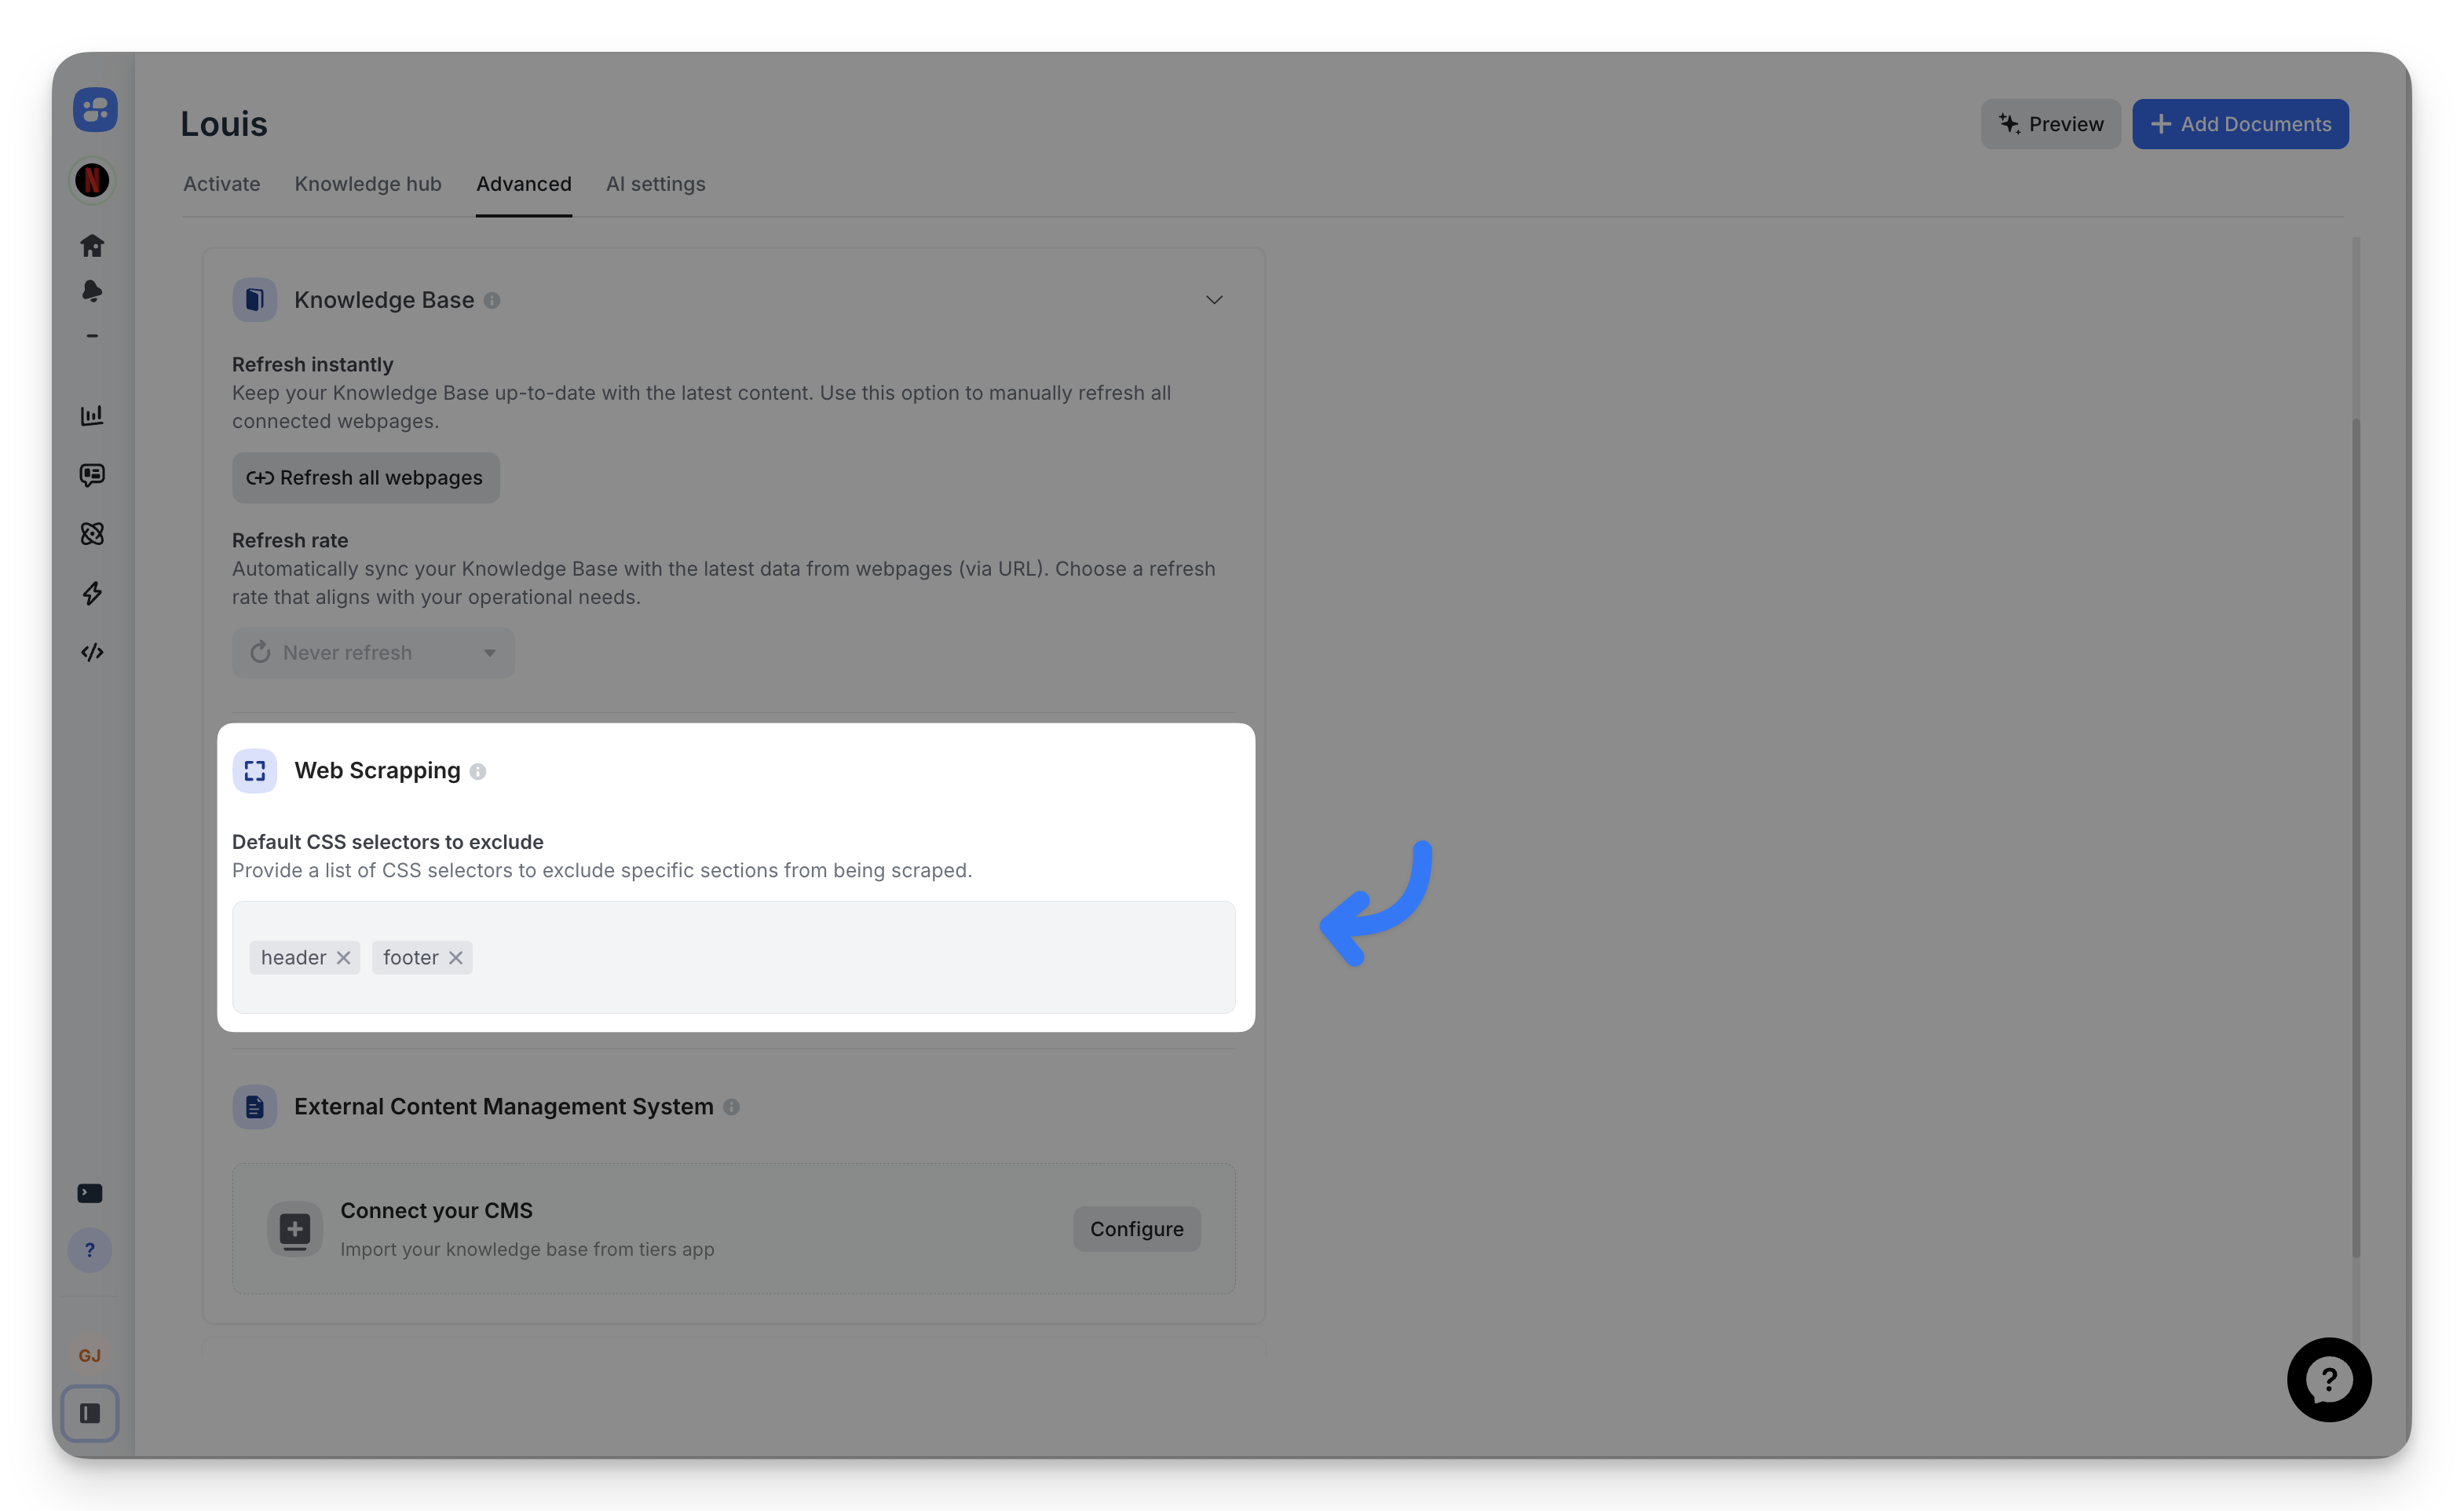
To configure:
- Go to Advanced > Web Scraping.
- Add selectors in the Default CSS selectors to exclude field.
- Separate multiple selectors with commas or spaces.
Start with common noise elements: header, footer, .sidebar, .navigation, .cookie-banner.
Per-URL overrides
Some pages need different rules. A product page might have a useful sidebar that your help-center pages don't have. Override the global defaults at the time you add the URL.
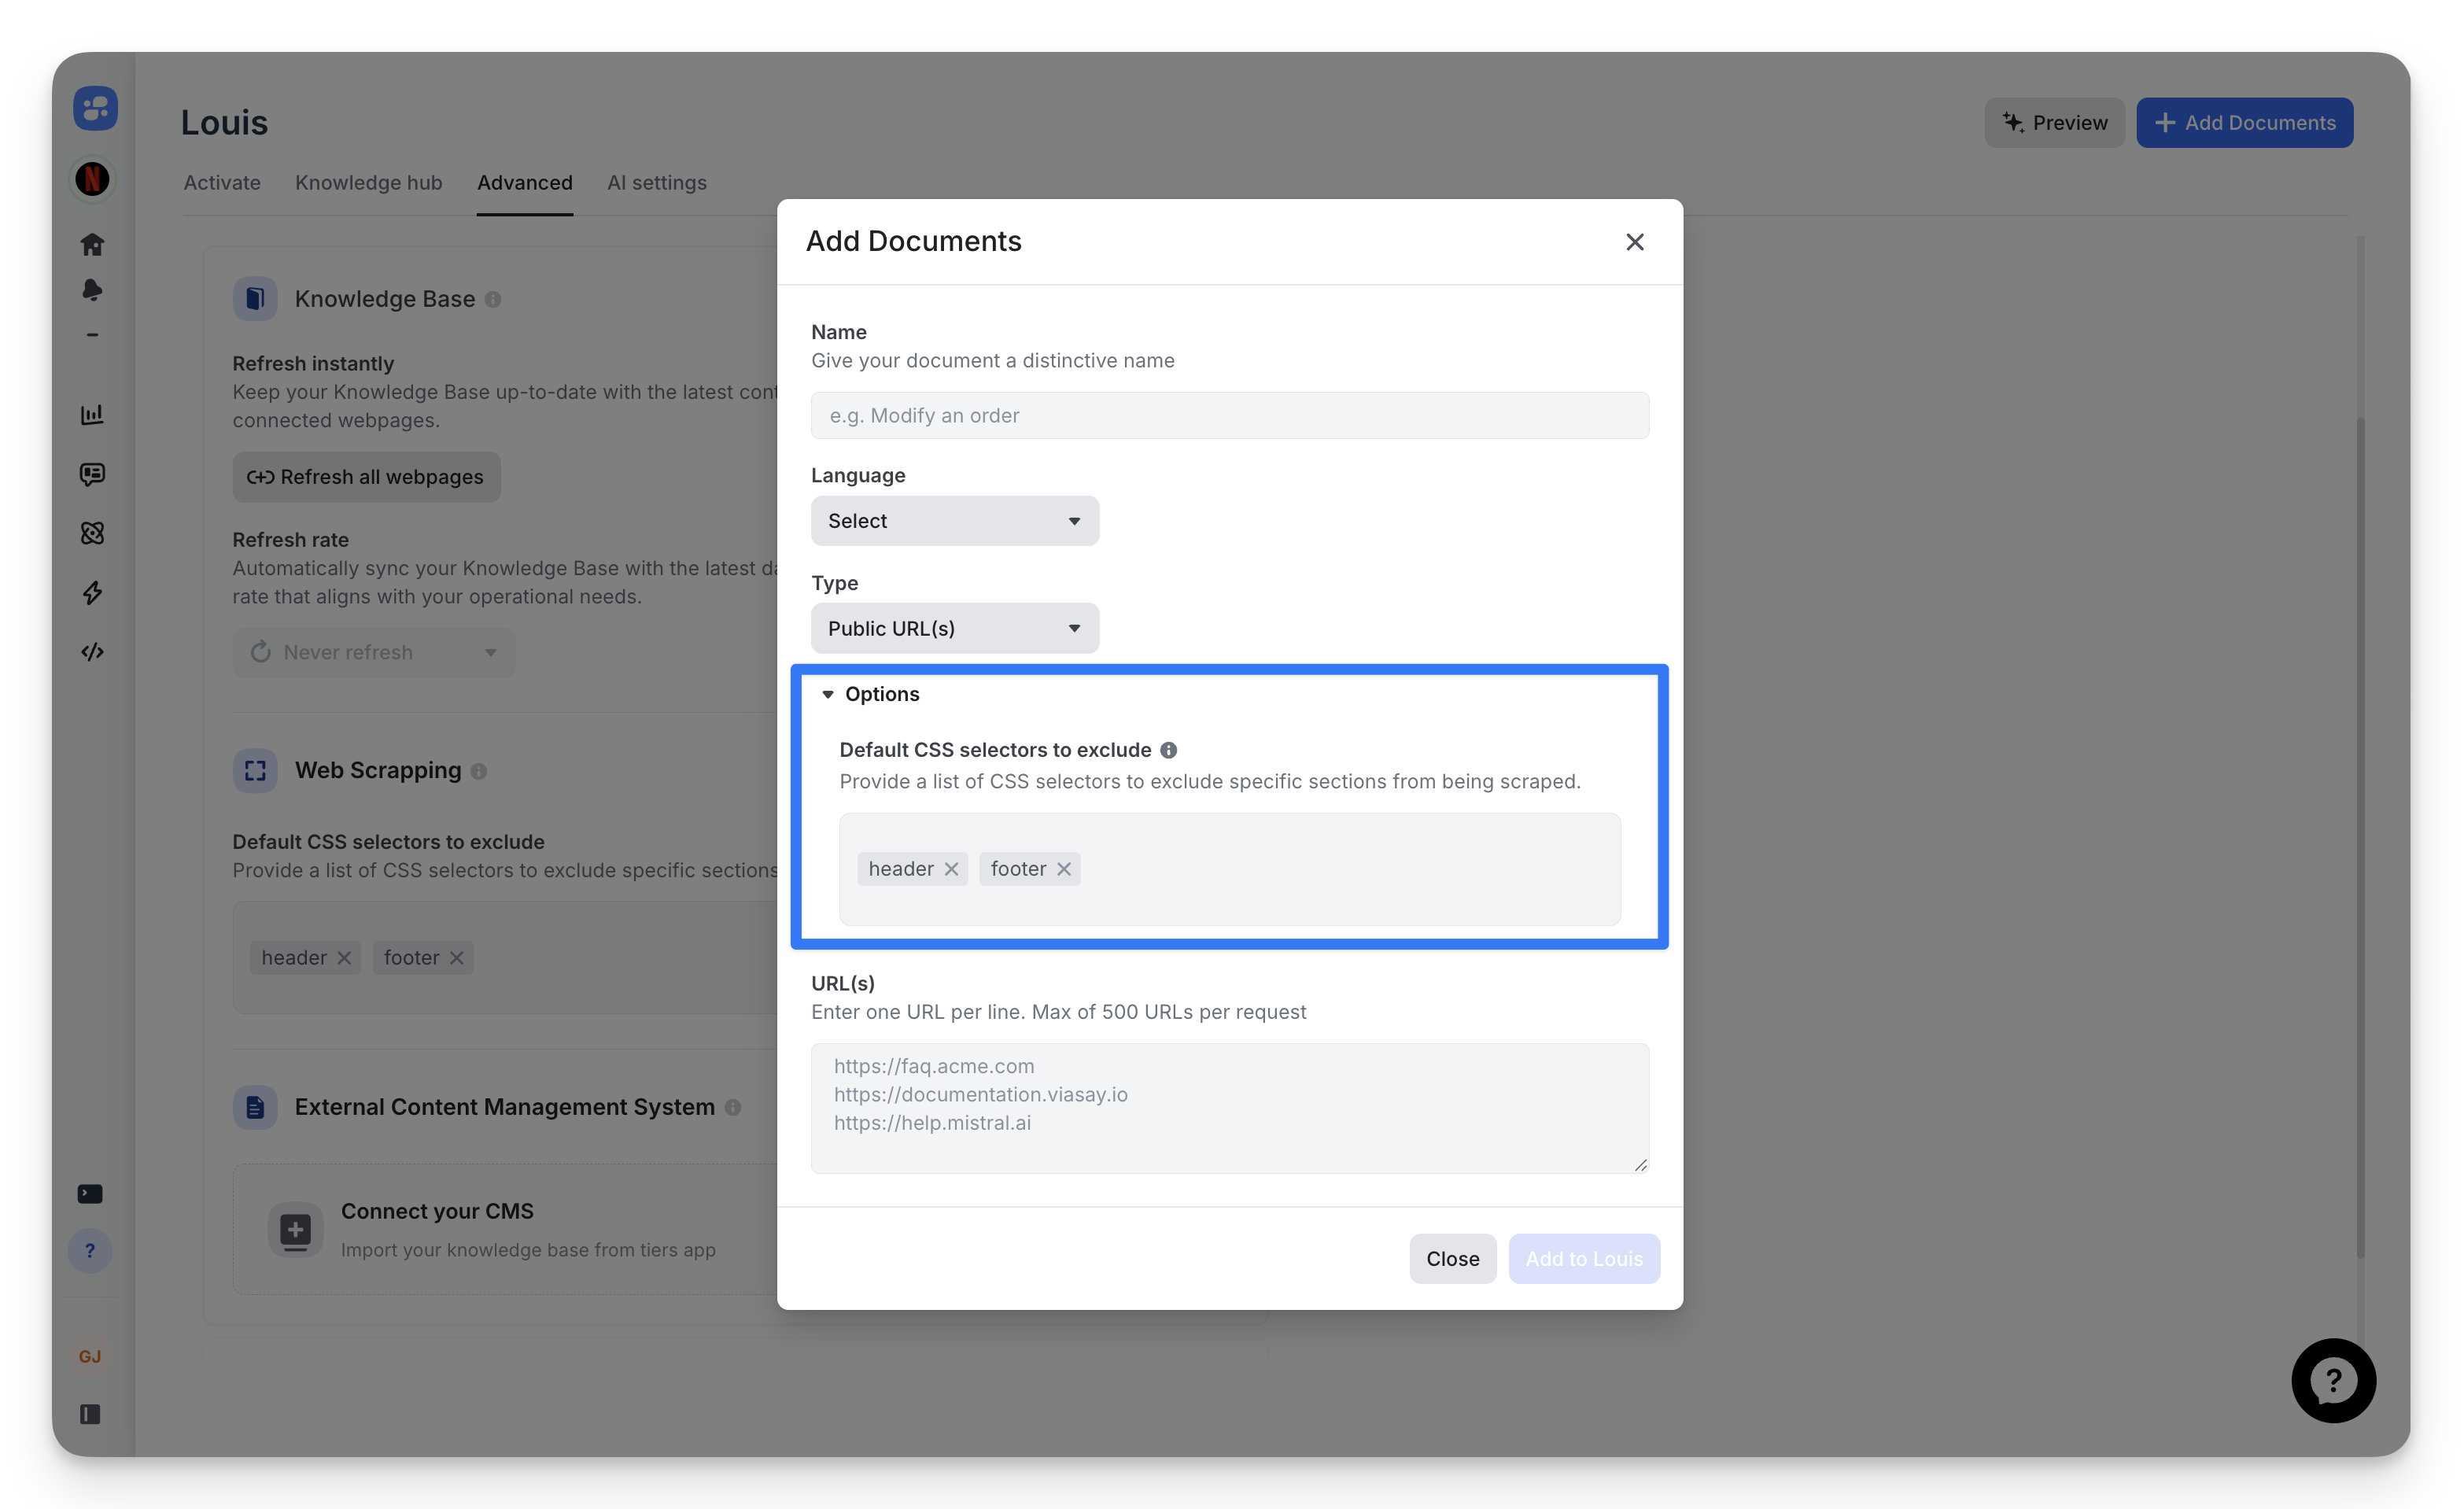
To customize:
- Click Add Documents > Public URL(s).
- Expand the Options section.
- Edit the CSS selectors field.
- Paste your URLs.
These overrides only affect the current import. Your global defaults remain unchanged.
Common selectors to start with
Start with these patterns and refine based on your target sites:
| Selector | What it strips |
|---|---|
header, footer | Site-wide chrome |
.sidebar, #sidebar | Auxiliary content panels |
.nav, .navigation, .menu | Navigation elements |
.cookie-banner, .modal, .popup | Overlays |
.ad, .advertisement, .promo | Marketing content |
.social-share, .comments | Engagement widgets |
Finding selectors
Right-click an element in your browser → Inspect → copy its class name or ID. That's your selector.
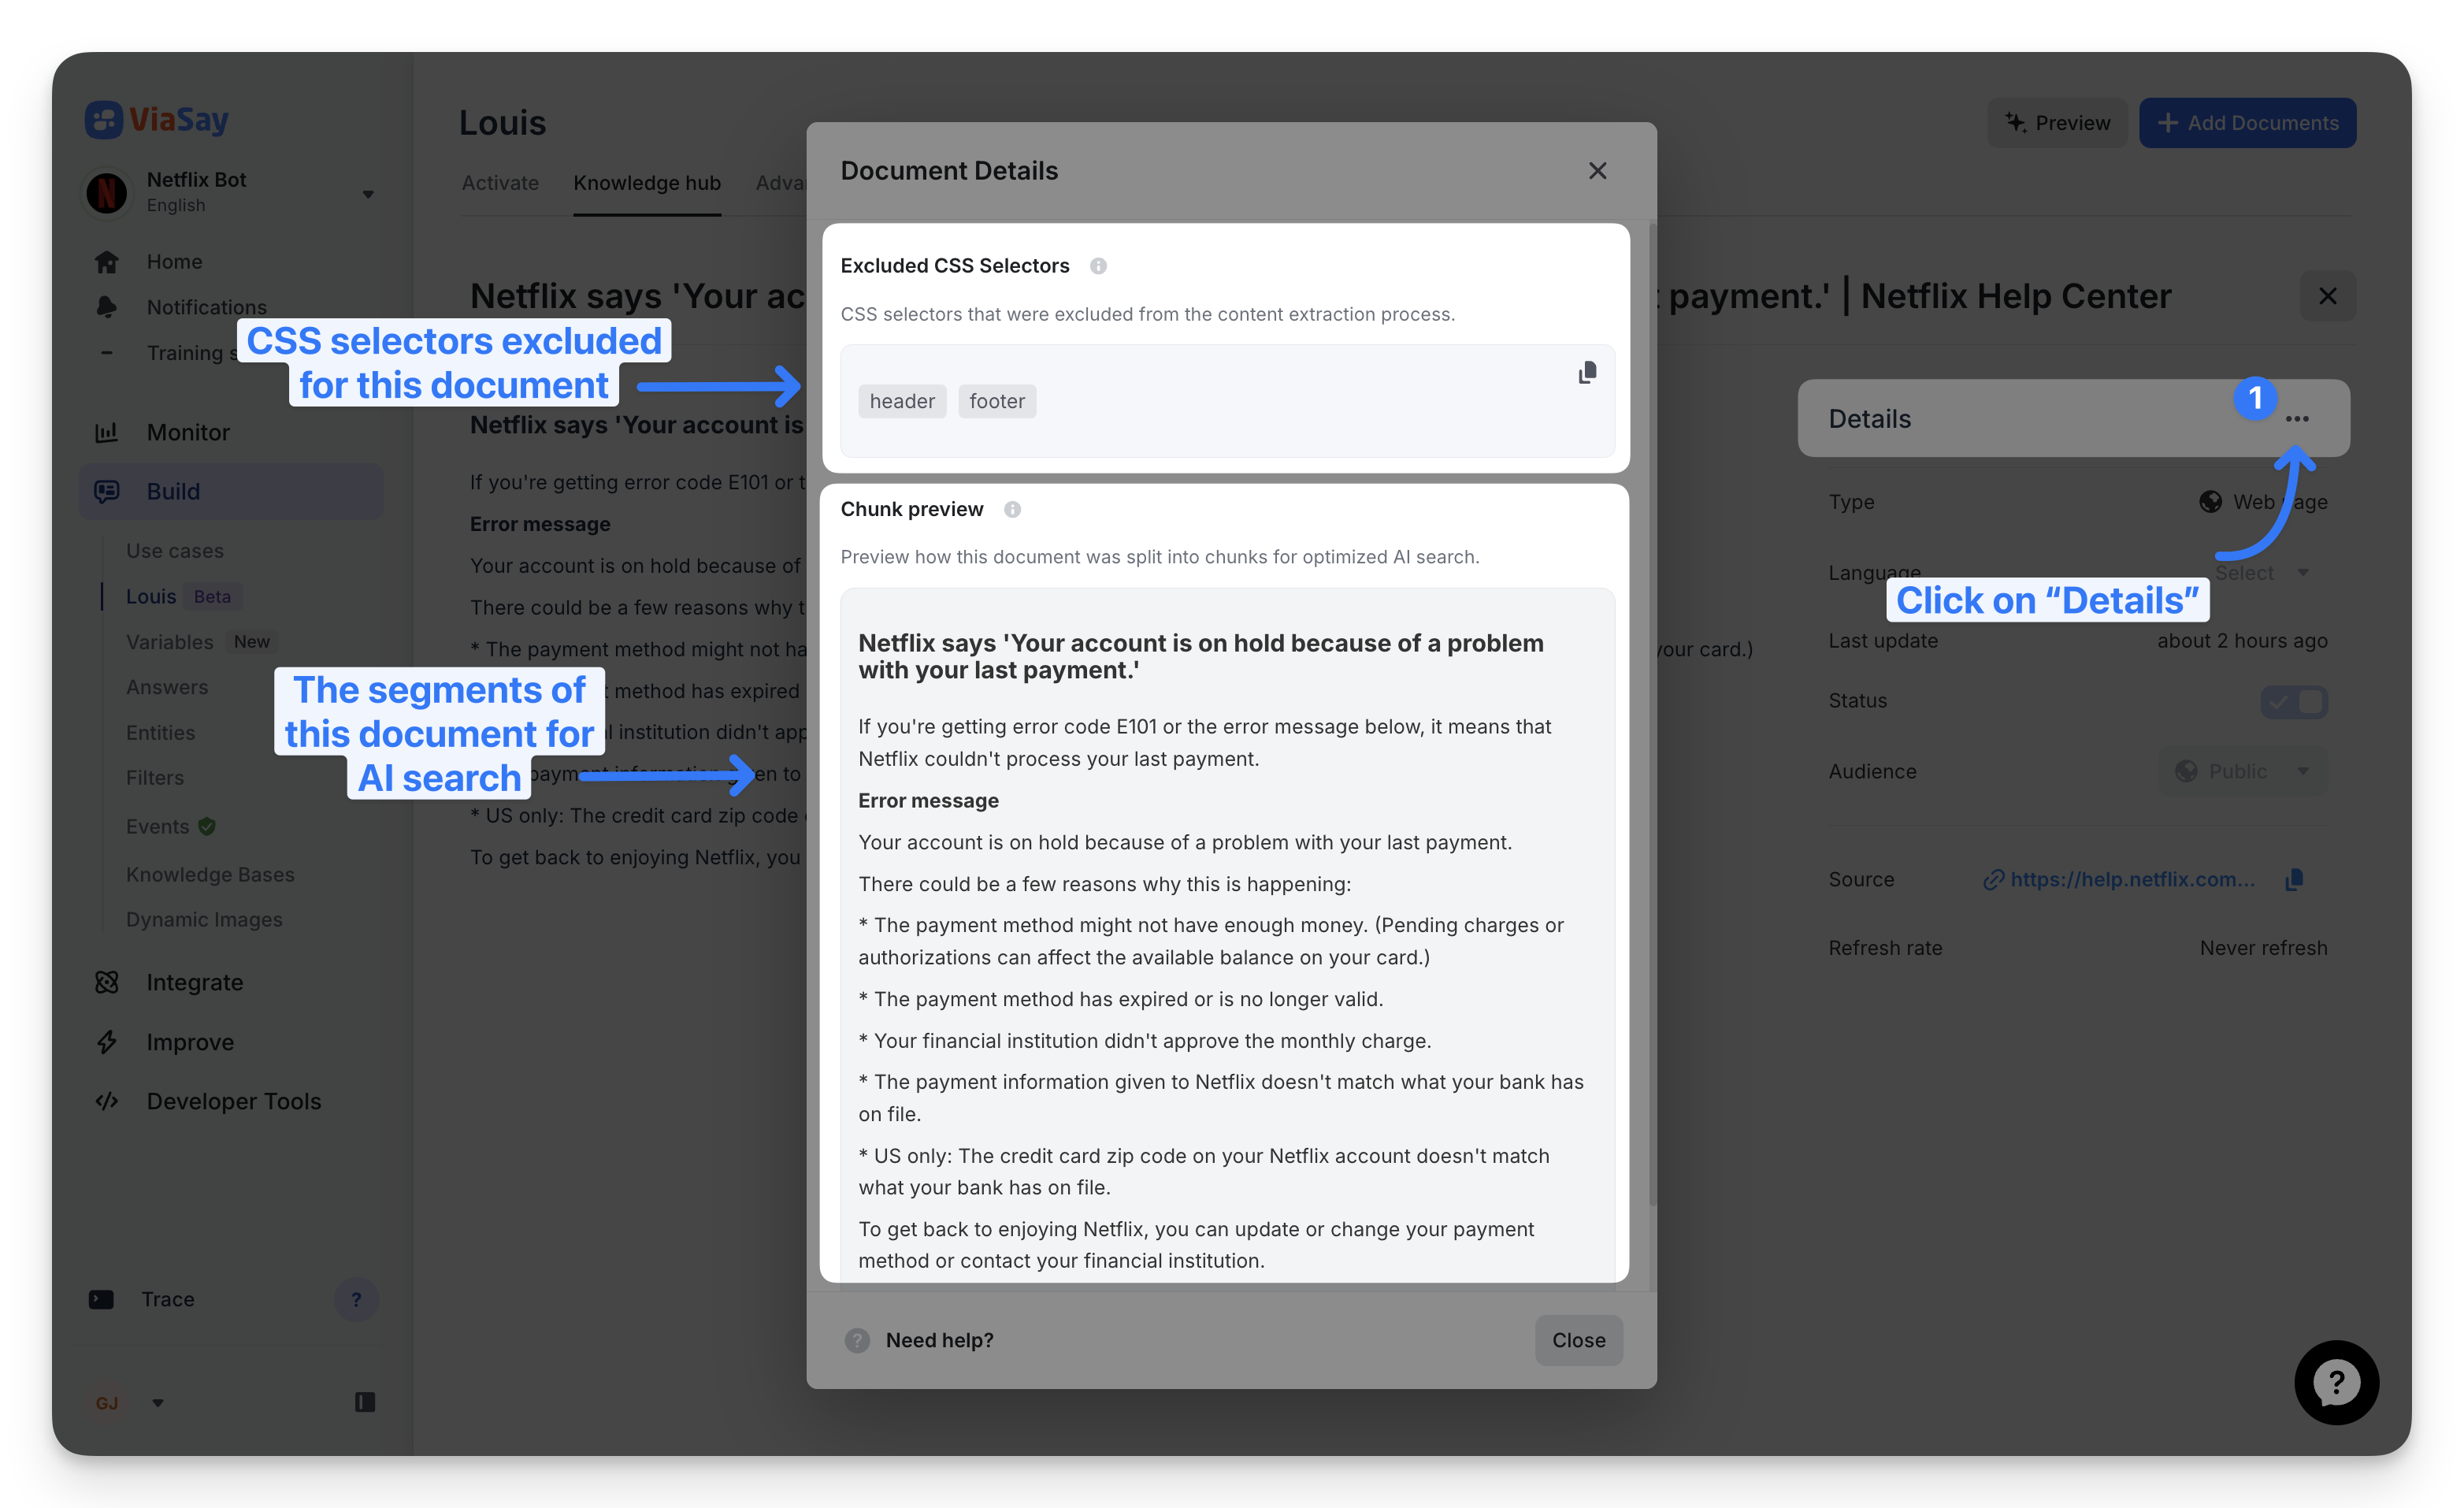
Verify what was scraped
Once a URL document is scraped, you can review exactly which selectors were applied and how the content was chunked.
To access:
-
Open the document from the Knowledge Hub.
-
The Details modal shows two key sections:
- Excluded CSS Selectors — the exact selectors used during scraping. Copy them to reuse on similar documents, or use them to troubleshoot.
- Chunk preview — how the document was split for AI search.
Chunk quality matters
- Chunks too large: mixed topics create noisy embeddings → reduced retrieval precision.
- Chunks too small: context is fragmented → incomplete answers.
Use the chunk preview to validate that content boundaries make semantic sense.
JavaScript rendering — for dynamic pages
By default, Louis extracts content directly from the page's HTML response. For modern web apps where content is loaded after the initial HTML response, base scraping returns an empty or incomplete page.
Enable JavaScript rendering when:
- The page is a single-page application (React, Vue, Angular).
- Content is lazy-loaded as the user scrolls.
- Content is hidden behind user interactions (click to expand, "Show more" buttons).
- A specific element must be visible before the page is meaningful (e.g. a price loaded from an API).
Performance impact
JavaScript rendering is slower than direct HTML extraction. Only enable it for documents that actually need it.
Configuration
In the Add document modal, toggle Enable JS rendering to reveal the options.
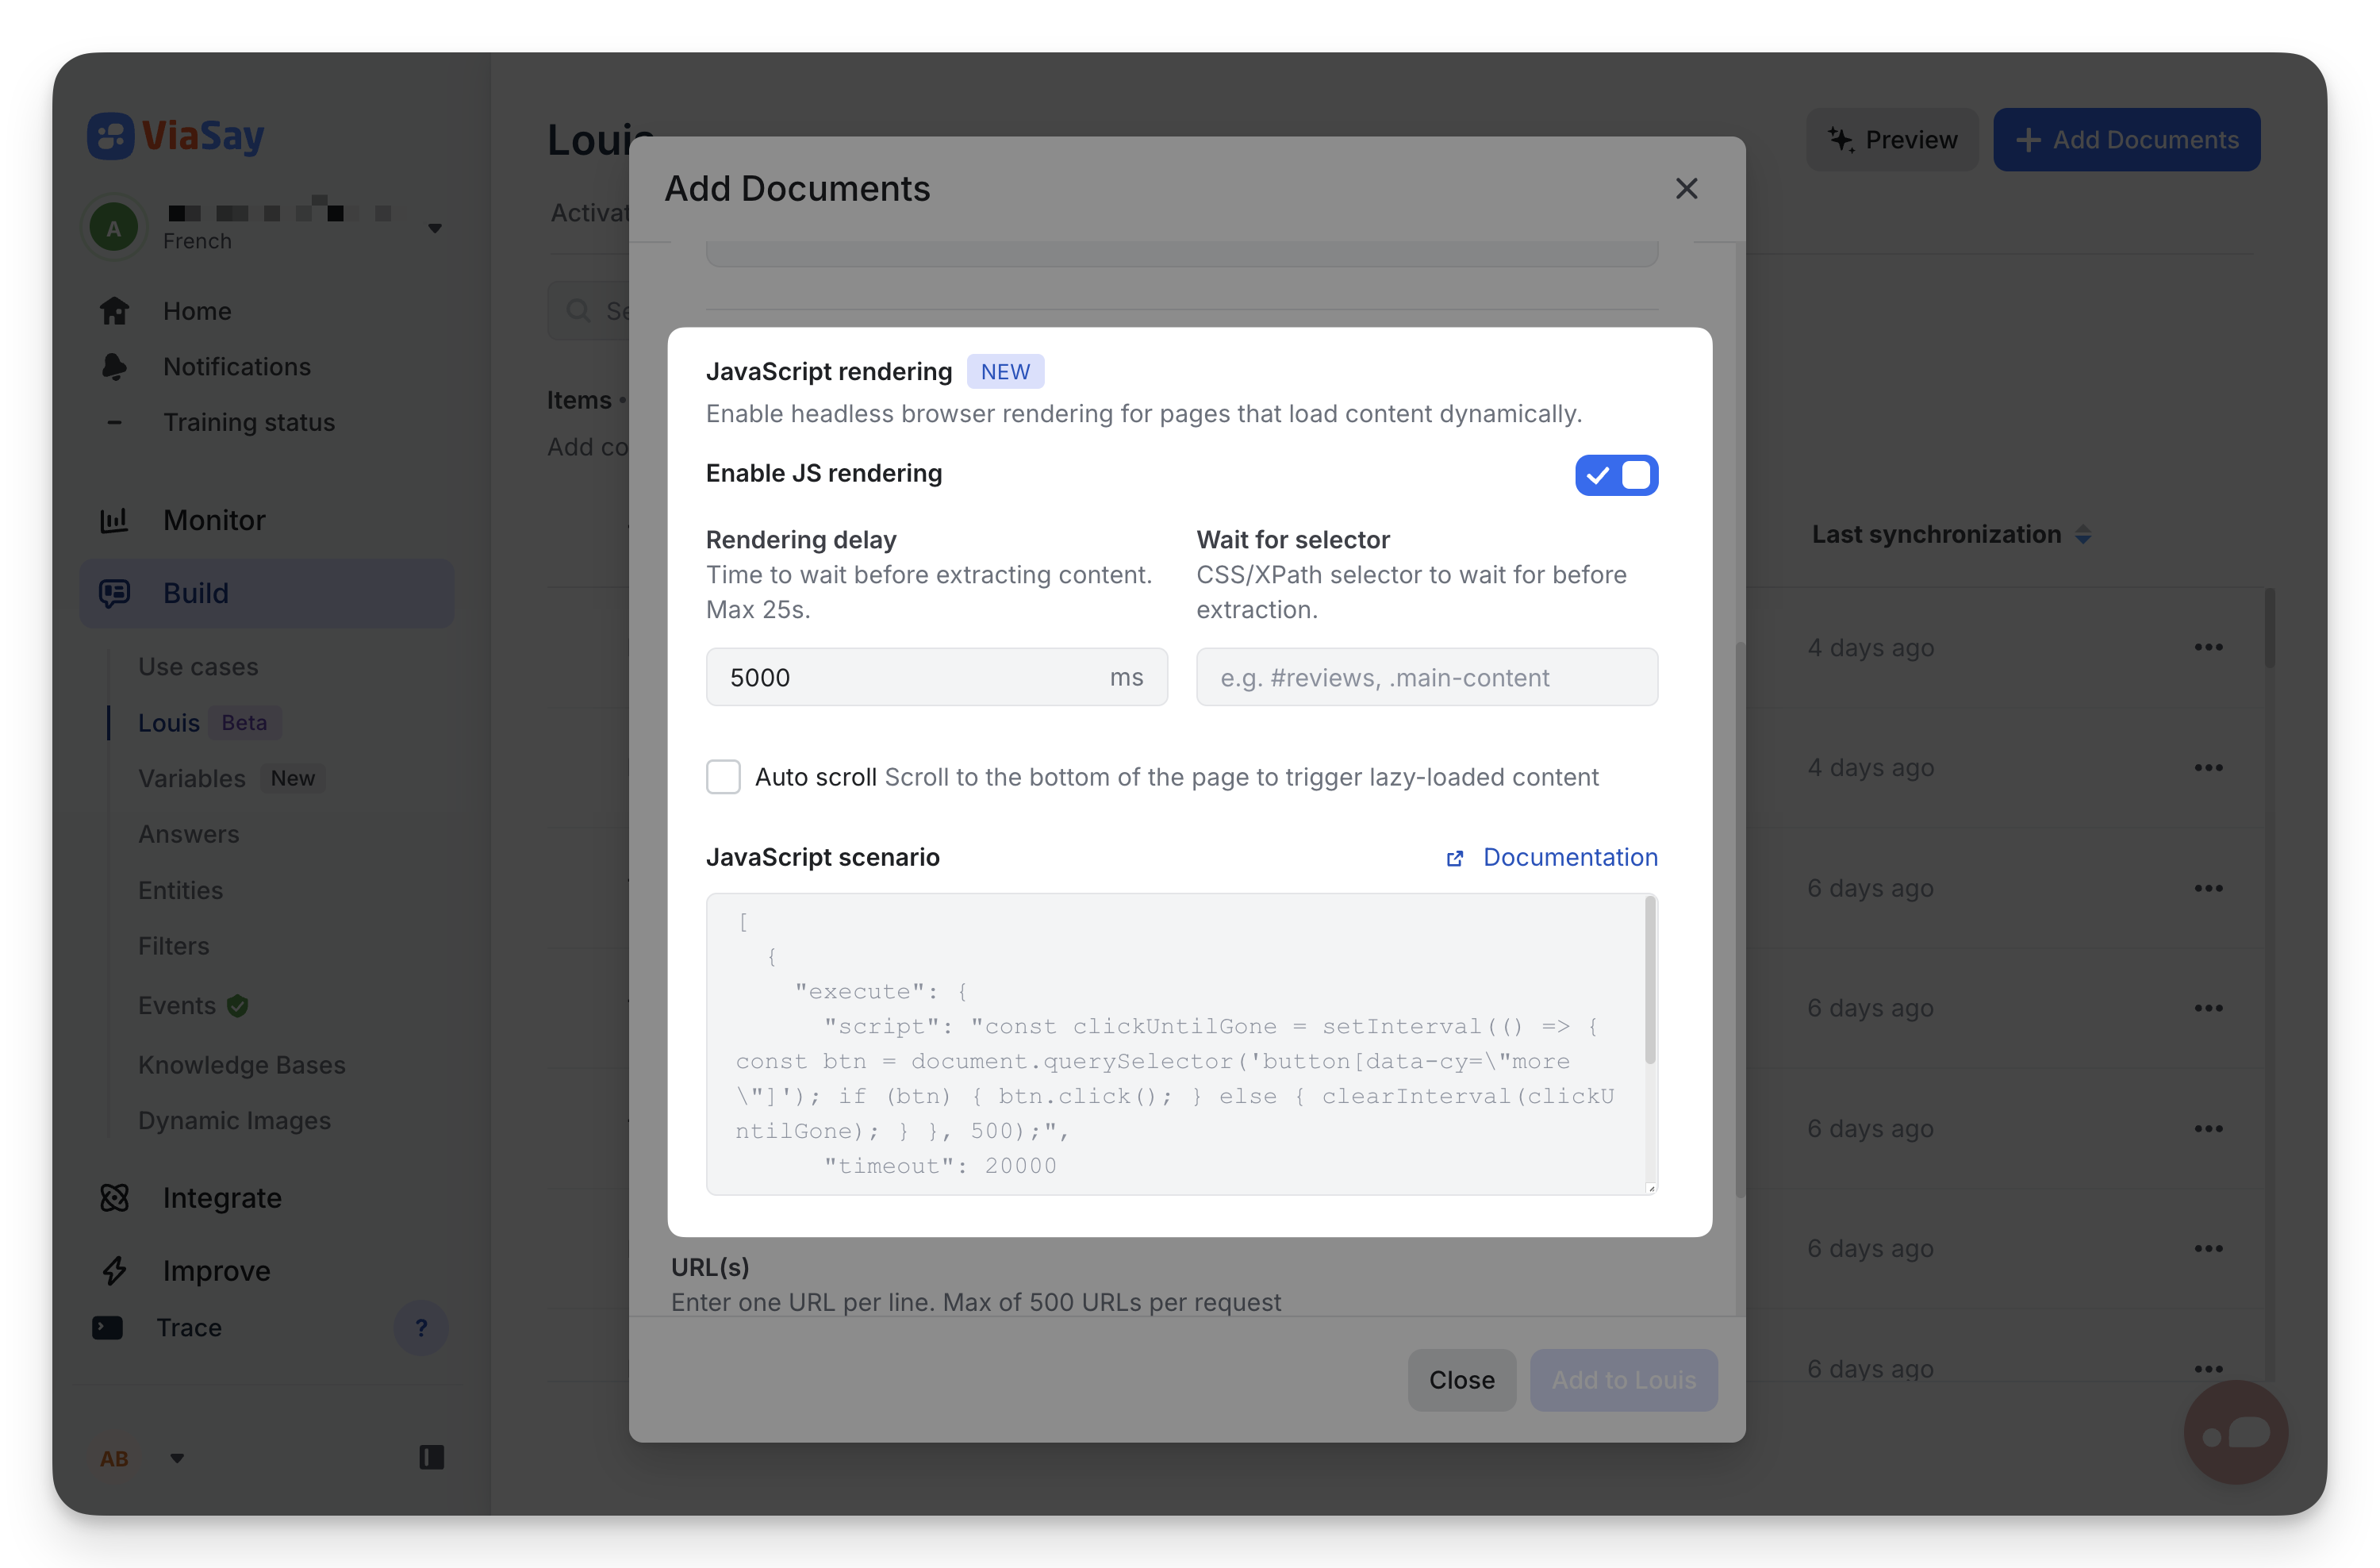
Rendering delay
Time the headless browser waits before extracting content, in milliseconds.
- Range: 0 to 25,000 ms.
- Use for: pages that need a fixed delay to load content (e.g. analytics scripts, third-party widgets).
Wait for selector
A CSS or XPath selector that must be present in the DOM before extraction starts.
- Use for: pages that load content asynchronously and you can identify a specific element that signals readiness.
- Example:
.product-priceto wait until the price element appears.
Auto scroll
When enabled, the headless browser scrolls to the bottom of the page before extracting content.
- Use for: pages with lazy-loaded content that only renders as the user scrolls (image grids, infinite-scroll lists).
JavaScript scenario (advanced)
Define a sequence of actions to execute before extraction. Provide a JSON array of actions:
| Action | Description |
|---|---|
wait | Wait for a fixed duration (ms) |
execute | Run arbitrary JavaScript in the page context |
click | Click an element matching a selector |
scroll | Scroll to a specific position or element |
fill | Fill a form field |
Example — click a "Show more" button repeatedly until it disappears, then wait 5 seconds:
[
  {
    "execute": {
      "script": "const clickUntilGone = setInterval(() => { const btn = document.querySelector('button[data-cy=\"more\"]'); if (btn) { btn.click(); } else { clearInterval(clickUntilGone); } }, 500);",
      "timeout": 20000
    }
  },
  {
    "wait": 5000
  }
]
Refer to the Scrapfly documentation for the complete action reference.
Read-only after creation
JavaScript rendering settings are captured at the time the document is scraped. To change them, re-add the document with the new configuration.
Keeping URL content fresh
Web pages change. Refresh is how you keep Louis's knowledge in sync with the source.
One document — Synchronize
Open a URL document in the Knowledge Hub and click Synchronize in the detail drawer. Louis re-fetches the source page and re-indexes the content.
Use this when you just published a change to one specific page and want it reflected immediately.
Many documents — bulk Synchronize
Select multiple URL documents in the Knowledge Hub, then click Synchronize in the floating action bar. Up to 30 documents are re-fetched at once.
See Bulk operations for the full bulk workflow.
All URLs — Refresh All Webpages
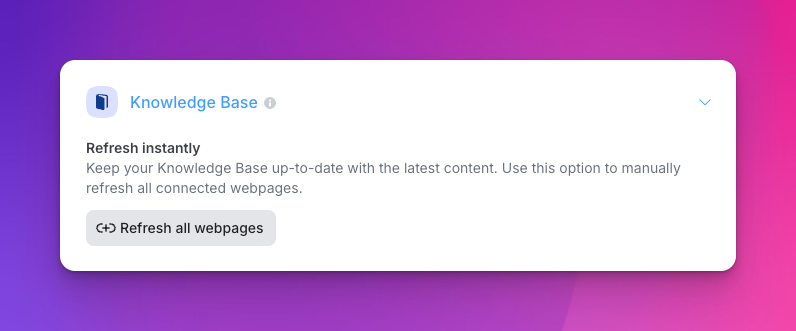
Refresh All Webpages (in Advanced settings) manually refreshes every URL-based document in the Knowledge Hub in one click. Use it after a major site-wide change.
Automatic — Refresh Rate
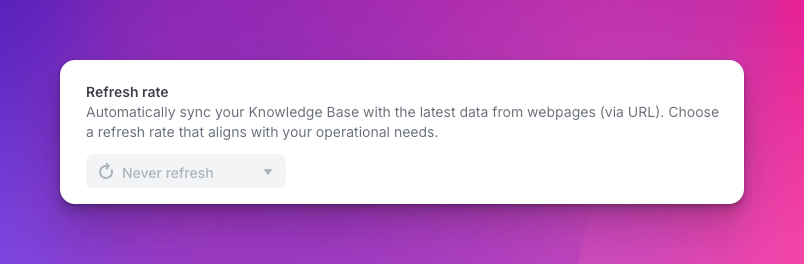
Set an automatic synchronization schedule for URL-based documents in Advanced > Knowledge Base > Refresh Rate. Options:
- Daily — Louis refreshes every URL once a day.
- Weekly — Louis refreshes every URL once a week.
- No Scheduled Refresh — manual only.
Pick a rhythm that matches your content
If your site updates frequently (daily news, prices that change often), pick Daily. For mostly-stable content (help center, policies), Weekly is enough. Excessive refreshing creates unnecessary load and can trigger rate limits on your source.
Selector configurations persist across refreshes
Your CSS selector exclusions stay active across refreshes. Whether you manually sync or rely on automatic updates, your cleaning rules are reapplied — no need to redo them after a refresh.