
Create a ViaSay Widget
Create a Web Widget to deploy your bot on your website
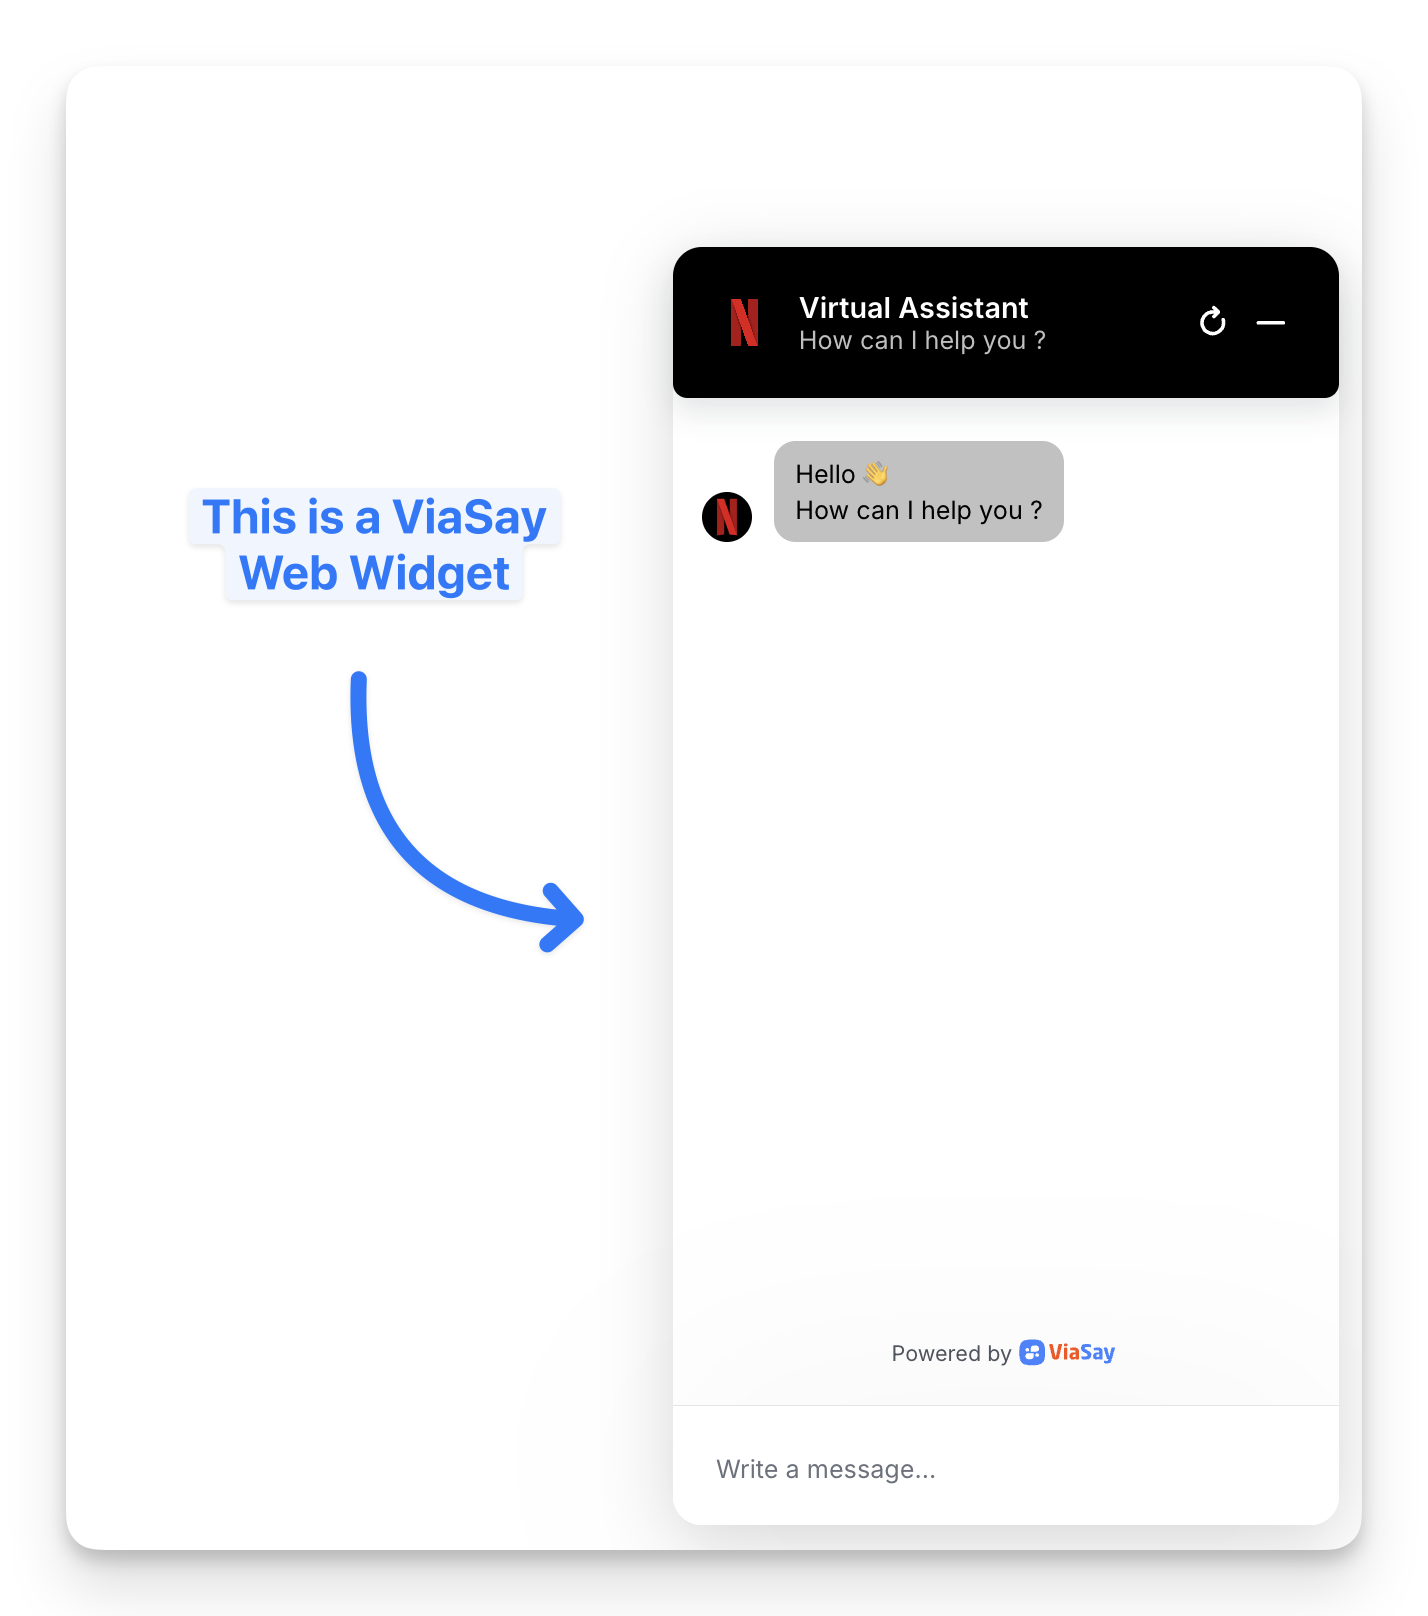
What is a Widget?
A widget is a configured instance of ViaSay's chat interface. Each widget has its own settings, appearance, and analytics, allowing you to deploy different experiences across your digital properties.
Create a Widget
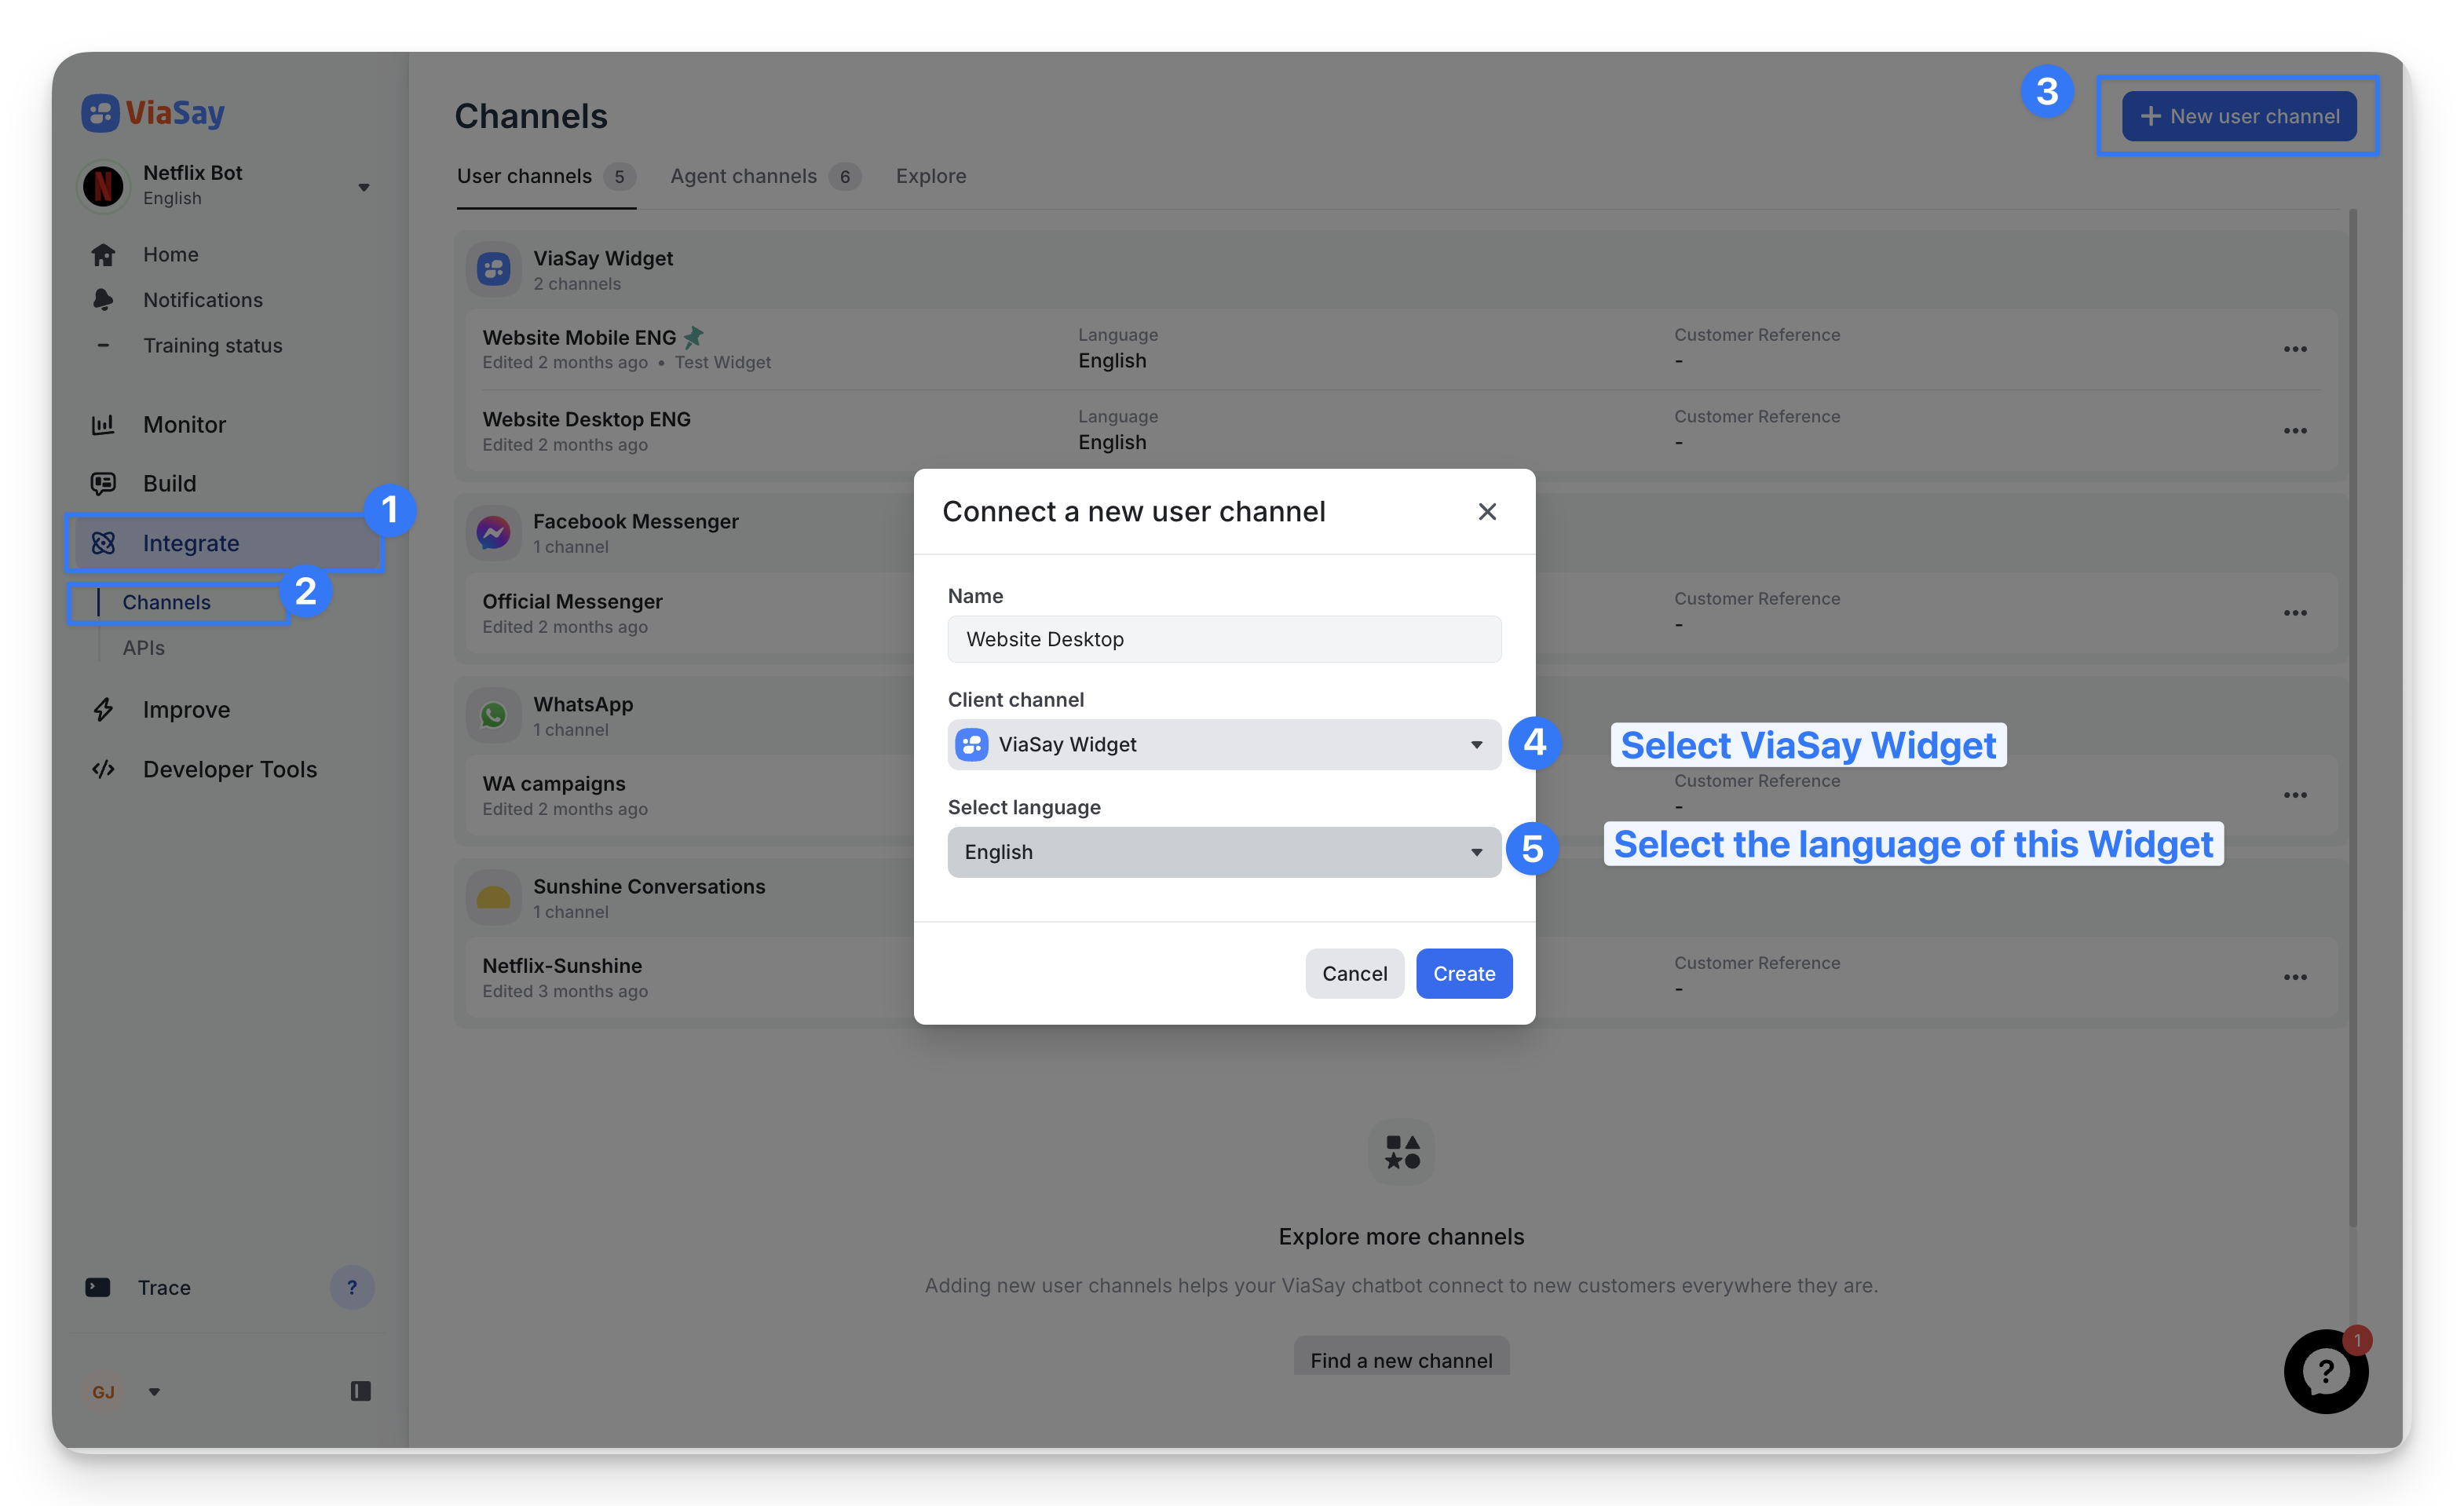
1. Access Channels
Navigate to Build > Integrate > Channels in your ViaSay dashboard.
2. Create New Channel
Click + New user channel in the top-right corner.
3. Configure Widget
In the Connect a new user channel dialog:
- Name: Enter a descriptive identifier (e.g., "Website Desktop", "Mobile App", "Partner Portal")
- Client channel: Select ViaSay Widget
- Select language: Choose the language for this widget
Click Create to generate the widget.
Congrats ! You just created your Widget. You can now customize its look and install it on your website.
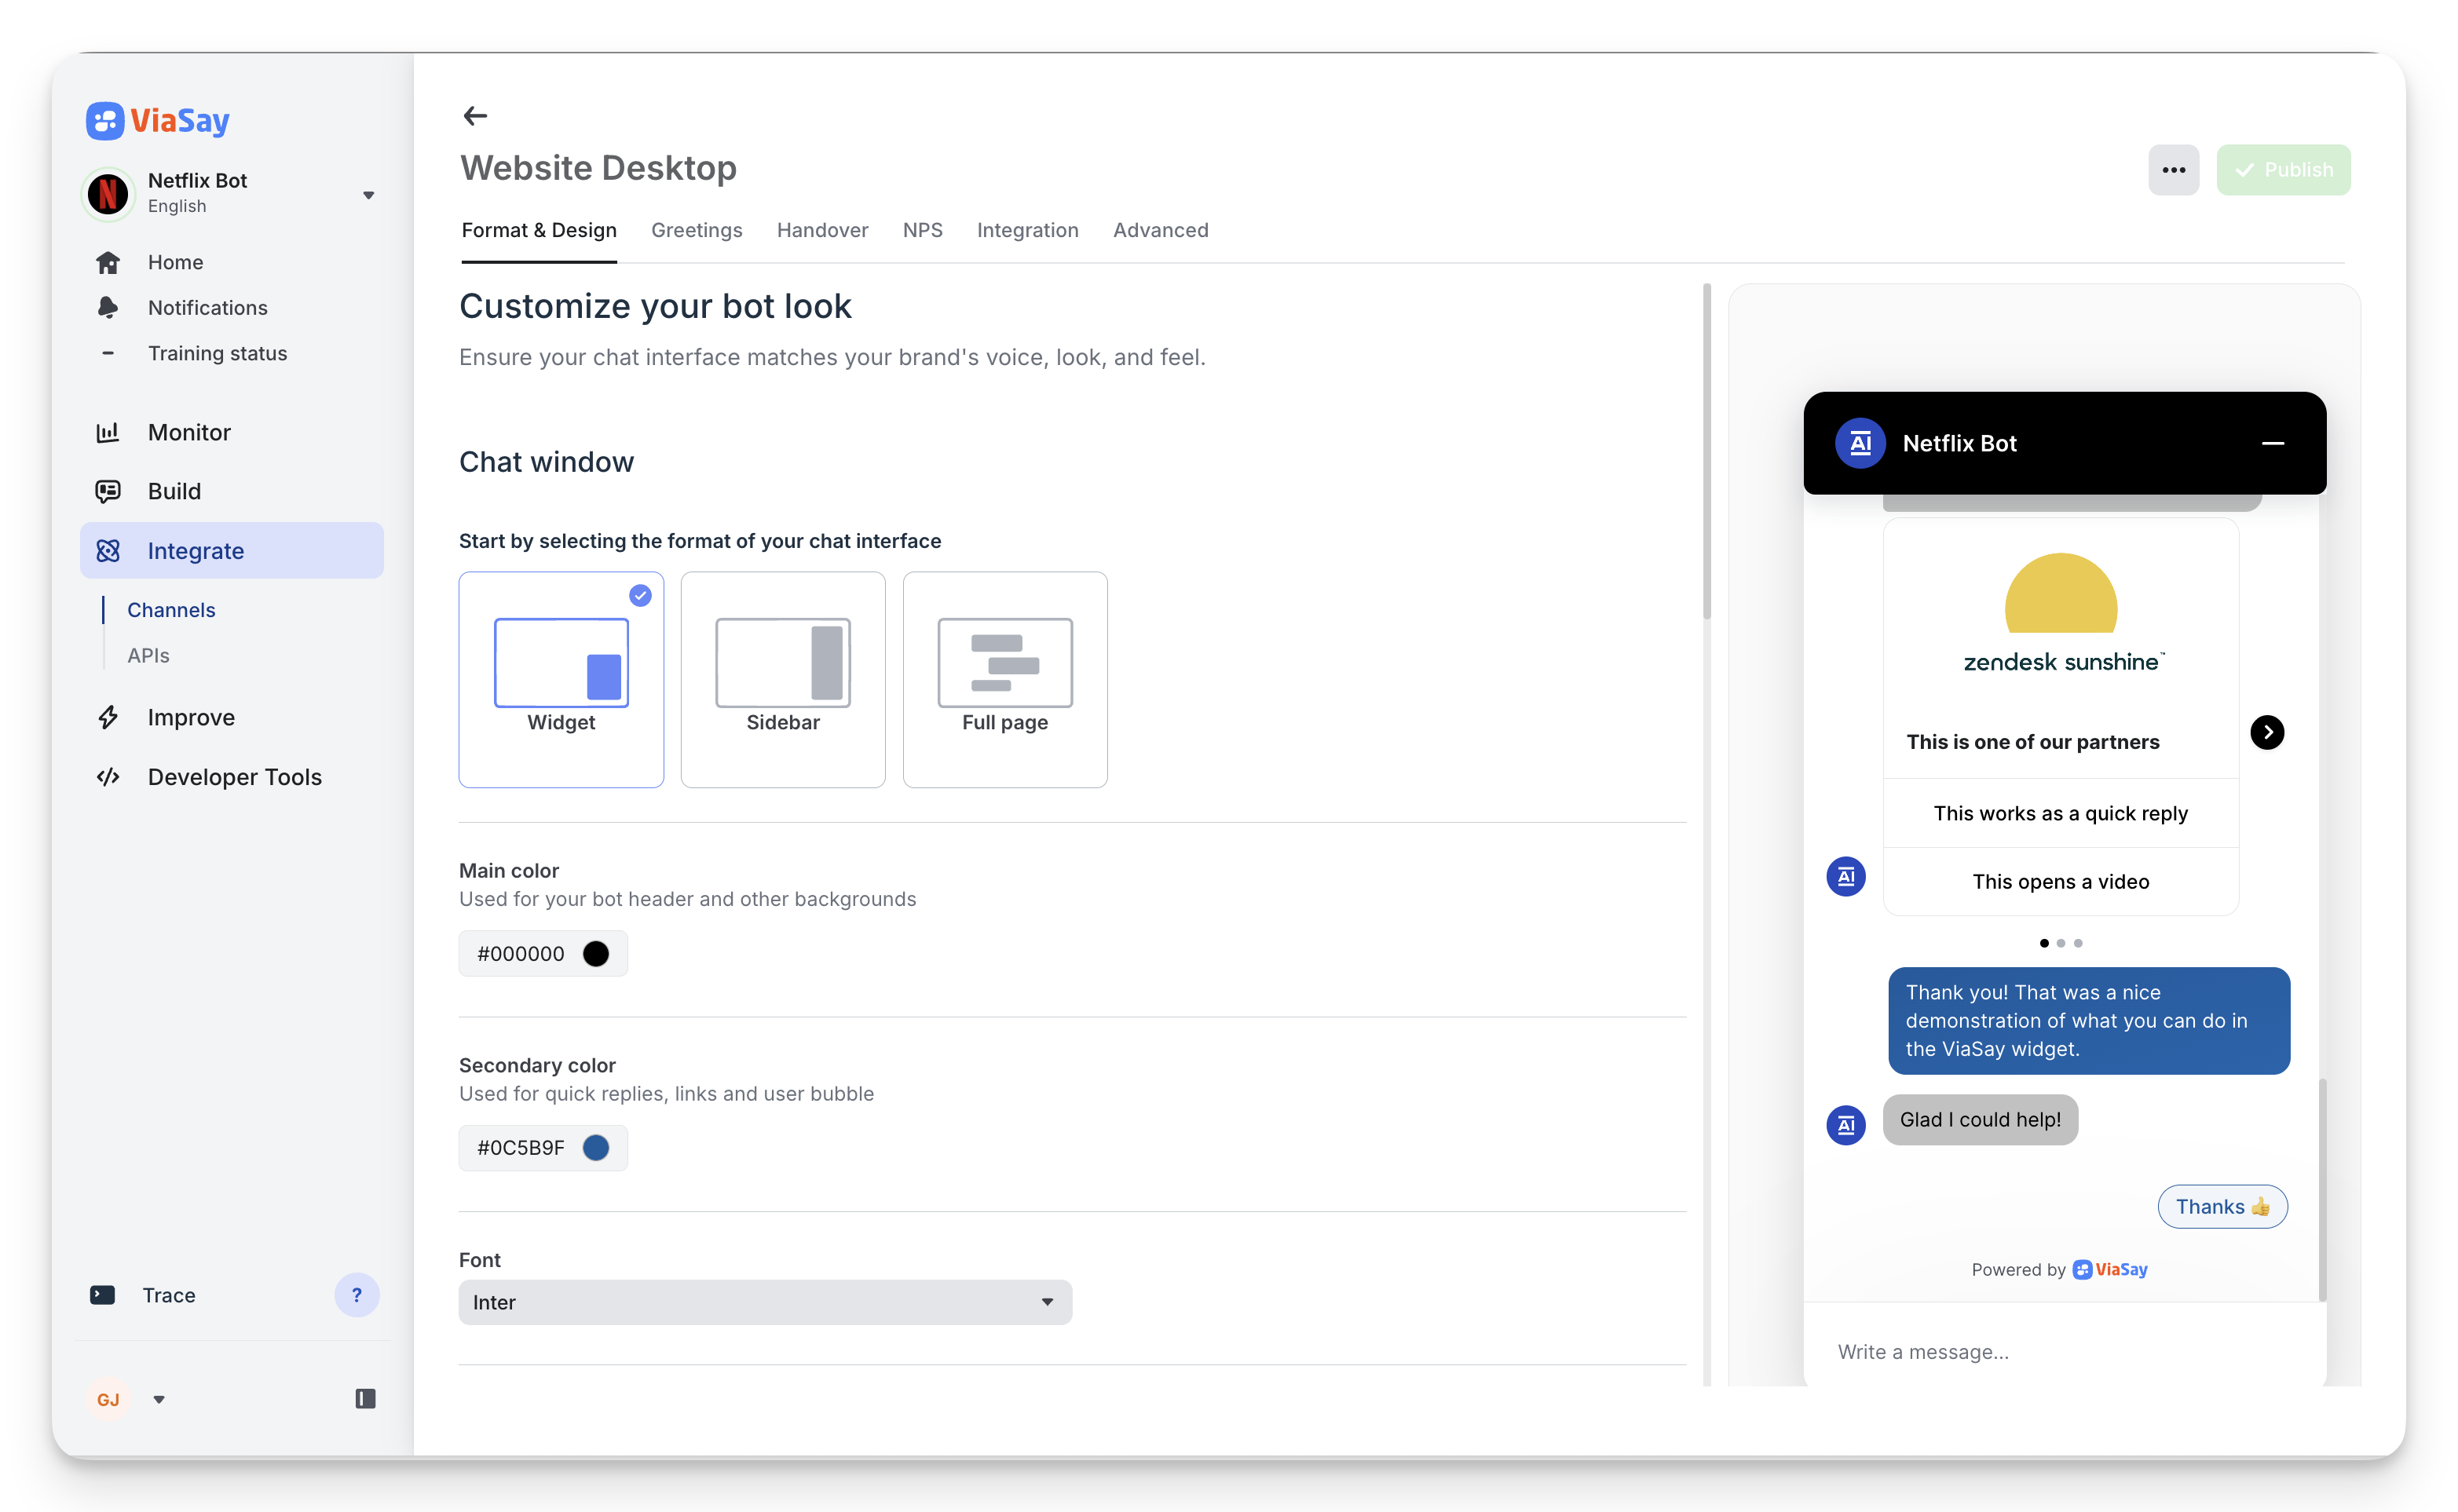
4. Access Widget Settings
Your new widget appears in the channels list. Click it to access:
- Integration: Installation code and token
- Format & Design: Visual customization
- Greetings: Welcome messages and proactive prompts
- Handover: Human agent escalation rules
- NPS: Satisfaction survey configuration
- Advanced: Custom parameters and metadata
Create Multiple Widgets
Create multiple widget instances to segment user experiences, customize designs, and track analytics across different contexts
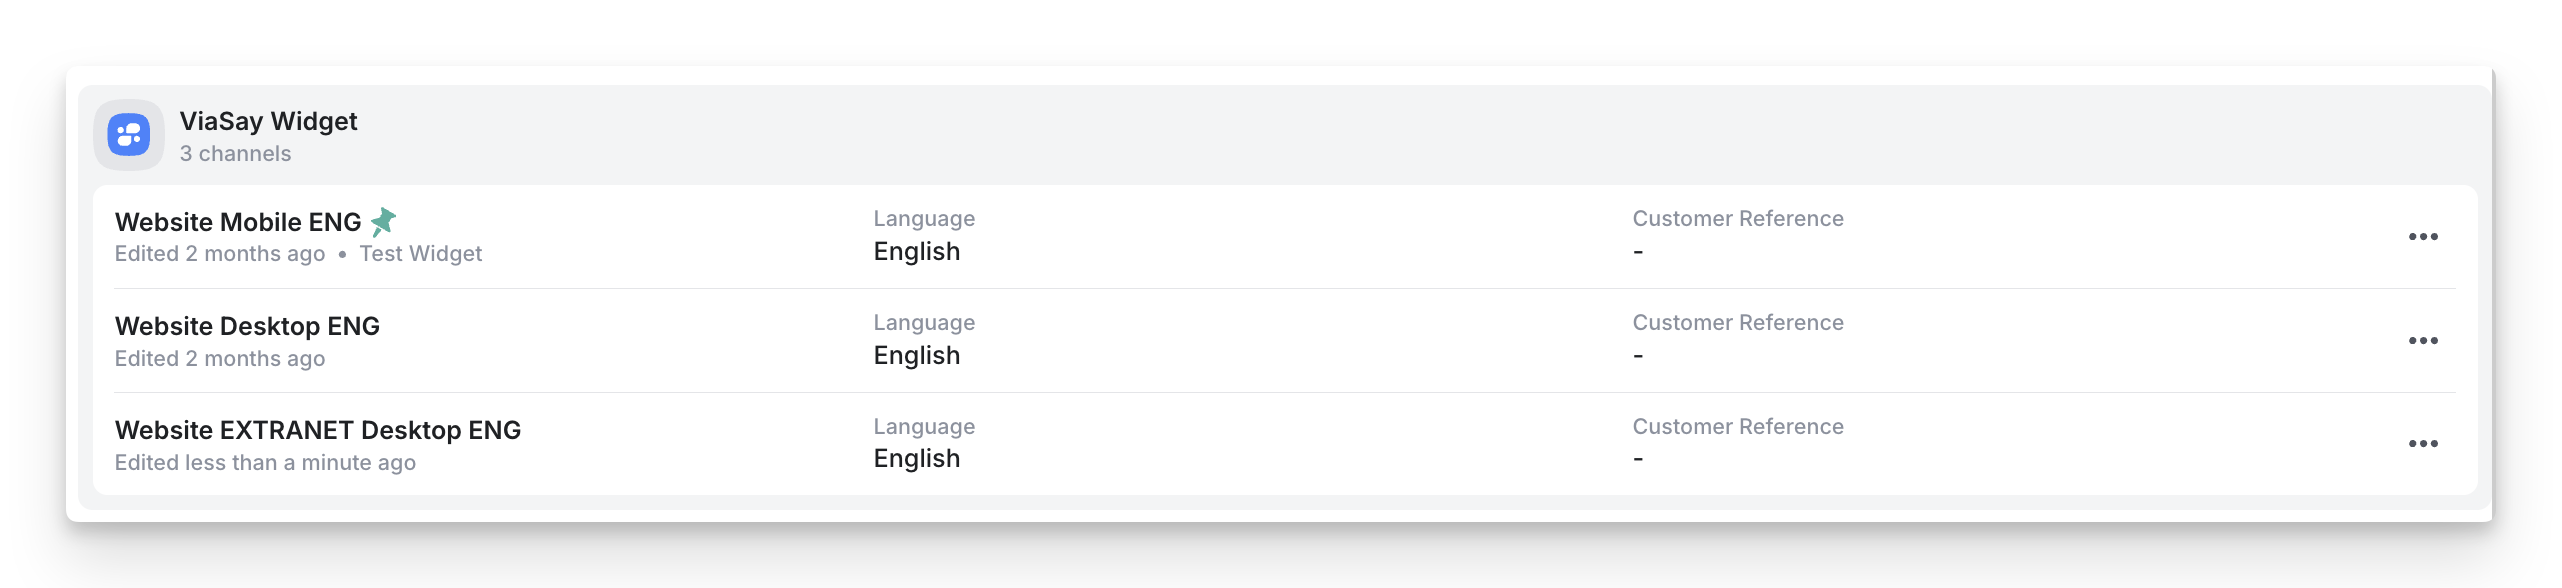
Segment Analytics by Context
Track performance separately for different user groups or environments:
- Desktop vs mobile traffic
- Public website vs customer extranet
- Marketing pages vs product documentation
- Regional sites with different languages
Customize User Experience
Tailor each widget to its deployment context:
- Greetings: Display different welcome messages based on user type or page category
- Design: Match widget styling to specific site sections or brands
- Language: Deploy language-specific widgets for international audiences
Organize Multi-Brand Deployments
Manage separate chatbot experiences under one ViaSay account for multiple brands, products, or business units.
Common Widget Configurations
| Use Case | Configuration |
|---|---|
| Desktop vs Mobile | Two widgets with different greetings; track conversion by device |
| Multi-language site | Separate widgets per language with localized greetings |
| Public vs Private | Public widget for sales; private widget with authentication for support |
| A/B Testing | Two widgets with different designs to measure engagement |
Widget vs Channel
Each widget is a user channel that connects visitors to your ViaSay agent. Other channel types (WhatsApp, Facebook Messenger, Teams) follow the same creation process but connect to different platforms.
Best Practices
Naming convention: Use clear, context-specific names that identify deployment location and purpose (e.g., "Website-Desktop-EN", "Extranet-Support-FR").
Start with one: Create a single widget for initial deployment. Add more as you identify segmentation needs.
Test before deploying: Use the preview link in the Integration tab to validate configuration before adding to production.
⚠️ Each widget has a unique token. Switching tokens changes which widget configuration loads on your site.
Access Analytics by Widget
View widget-specific metrics in Monitor:
- Filter conversations by channel to see desktop vs mobile performance
- Compare engagement rates across different widget configurations
- Track conversion metrics segmented by user context
Next Steps
- Copy installation code from the Integration tab
- Customize appearance in Format & Design
- Configure greetings in Greetings
- Deploy to your website [See Installation Guide →]